Overview
Day At A Glance provides quick access to several key types of information:
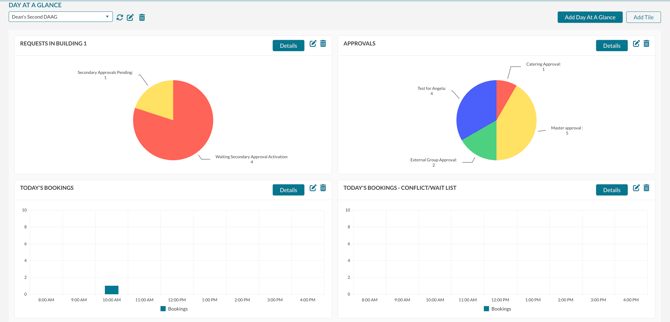
- Requests - shows all requests submitted via the Mazévo Mobile app or from the web request page. Events are displayed in the order in which the users submitted the request. However, if secondary approvals are defined in the system, requests are grouped by the approval status and date/time if approvals are used. Filters: Statuses, Event Coordinators, and Location.
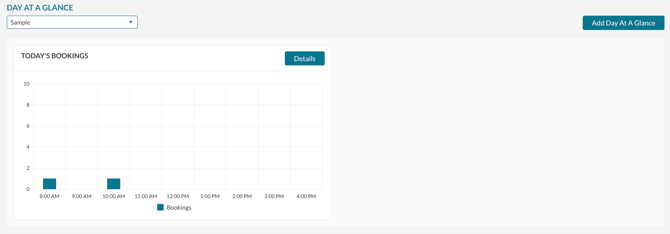
- Today's Bookings - shows all bookings for the current day. Filters: Statuses, Event Coordinators, Location, and Service Provider
- Tomorrow's Bookings - shows all bookings for tomorrow. Filters: Statuses, Event Coordinators, Location, and Service Provider
- Approvals - shows events that have approvals. Events are grouped by Approval Type and will indicate the Approval State. Filters: Statuses, Event Coordinators, and Location.
- Unanswered Questions - displays all questions (Requests for Information) that have not been answered by the primary contact (requester). This tile also displays the questions that are required before the event. Filters: Event Coordinators
- Inquiries - shows new inquiries for space from Mazevo's Inquiry Form.
- My Tasks - shows the tasks for the current user with a due date of 'Today' or earlier. The user can edit each task, mark it as completed, and even reassign it to another user. The system will display tasks with due dates up to 60 days old that have not been completed.
- Unread Messages - displays a list of events with unread messages sent from the requester.
- Terms—This option shows a list of Terms that need additional processing. It is only available to customers who use advanced academic tools.
- Academic Conflicts - displays a list of bookings that have been changed to the academic conflict status. Filters: Term, and Location.
- New Users - This option lists all new, unprocessed user accounts.
- Favorite Find Events Views - Shows a list of views that you have marked as your favorite. Clicking one of the views opens it in a new tab and executes it.
- Favorite Published Reports - Shows a list of published reports that you have marked as your favorite. Clicking a report opens it in a new tab.
- Favorite Activity Log Views - Shows a list of views that you have marked as your favorite. Clicking one of the views opens it in a new tab and executes it.
Configuring Day at a Glance
The first time you run Day at a Glance, you will see a sample Day at a Glance:
To add a new dashboard:
- Click Add Day At A Glance.
- Enter a Description for your new dashboard.
- If you want to share this with other users, click Share My Day At A Glance.
- Press Save.
To add tiles to your dashboard:
- Click Add Tile.
- Enter a Description for your tile.
- Select the tile type from the dropdown.
- Enter the additional filtering information to configure the tile (i.e., Statuses, Locations)
- Press Add.
You can add multiple tiles of the same type with different filters.
You can edit or remove a tile at any time using the edit icon or the trash can.
Using Day at a Glance
After configuring your selected tiles, you can click on any tile to drill down and see the details of that specific tile.