To create an organization:
1. Go to Events > Organizations.
2. Click Add Organization and enter information as described below.
On the Details tab:
- Enter the Name of the new organization.
- Enter the address, city, state, zip code, and phone number.
- Select the appropriate Organization Type. Organization types are used to categorize longer lists of organizations into logical groupings (e.g., Faculty, Student Groups, External).
- If appropriate, select the Event Coordinator. The selected coordinator will default on all new events for this organization.
- Enter the organization's Email Address. This address will be available for use when sending confirmations and invoices.
Special settings for each organization:
- Requestable - allows the organization to be selected during the requesting process (see below).
- Prevent New Events—This prevents the organization from being used for a new event. A note field will appear to record any comments.
- Organization Alert - Checking this allows you to enter a message, the alert, that will be displayed when adding or editing a new event.
- Disabled - Hides the organization from any future use in the system.
On the Contacts tab:
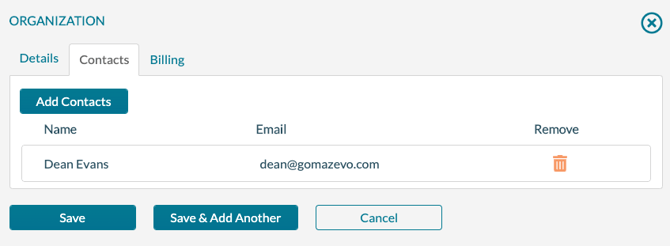
- Select one or more contacts associated with this organization by clicking the Add Contacts button, checking the box beside the appropriate contact(s), and clicking Add Contacts.
On the Billing tab, enter the billing information that will be used for all new events created for this organization:
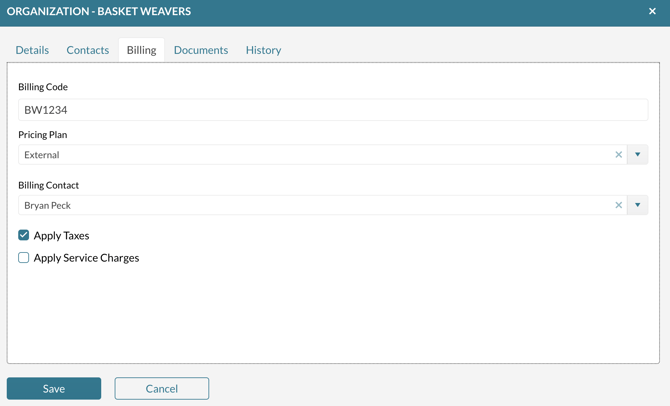
- Enter the Billing Code.
- Select the Pricing Plan.
- Select a Billing Contact. This contact will be added to new events as the billing contact.
- Check Apply Taxes if this organization should be charged sales tax.
- Check Apply Service Charges if this organization should be charged service charges.
3. After providing/selecting the necessary information, click Save.
Marking an Organization as your favorite
On the main grid that displays the organizations, just click the heart icon to mark the organization as one of your favorites. When creating new events in Add New Event or from the Event Book, your favorite organizations appear at the top of the organization dropdown.
Requestable Organizations
By default, users can only make requests on behalf of organizations that they are specifically associated with. However, you can set the Requestable flag on an organization to loosen this restriction and make any or all organizations available for any user making a new request.
Note: Organizations marked as requestable are available to any user creating a new request.
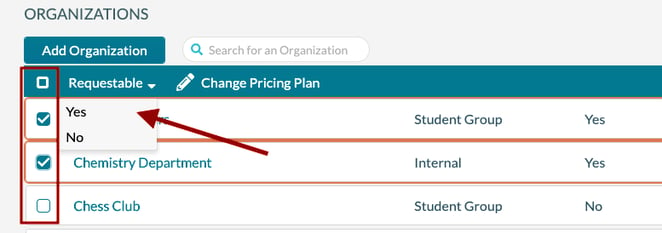
To mark an organization as requestable:
- From the list of organizations, check the box next to the organization. You can select more than one organization for this operation.
- Choose Requestable > Yes from the menu above the list of resources. Choosing No removes the Requestable flag from the selected organizations.
To change the pricing information for multiple organizations:
1. Check the box next to the organizations you want to modify.
2. Click Change Pricing Plan.
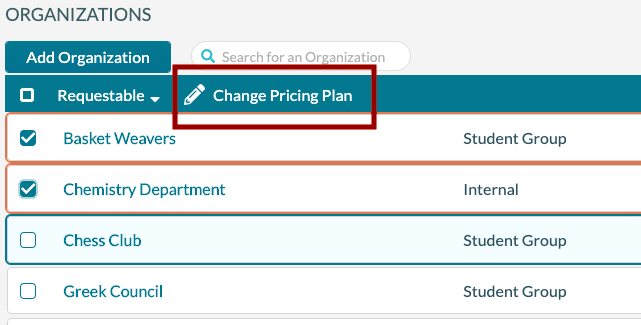
3. Select a Pricing Plan and check/clear the Apply Taxes and Apply Service Charges boxes as appropriate.
4. Click Save.
Attaching documents to the organization
You can upload and attach documents to an organization record in Mazévo when you edit an organization record. These documents can be photos, spreadsheets, word documents, or PDFs.
To upload a document or add a linked document:
- Navigate to Events > Organizations.
- Click on the organization you want to edit.
- Click on the Documents tab.
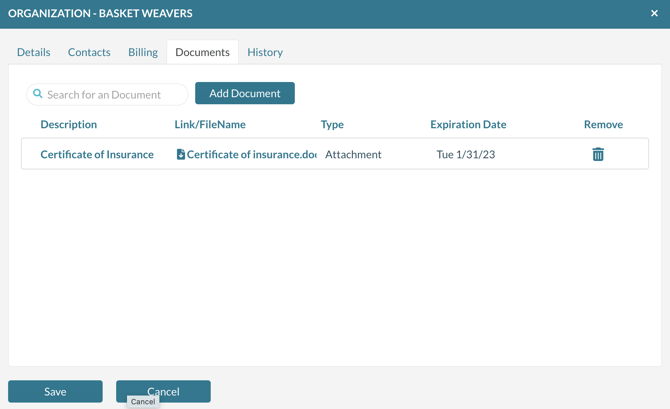
- Click Add Document and enter the following information:

- Select Attachment or Linked Document.
- Enter the description of the document and any notes to describe the document.
- If the document is a Certificate of Insurance, check the Certificate checkbox. This document will be shown under Manage Certificates.
- Optionally enter an expiration date for the document. (for example, the expiration date of the certificate of insurance).
- Click Upload to select the filter to attach.
- Press Save.
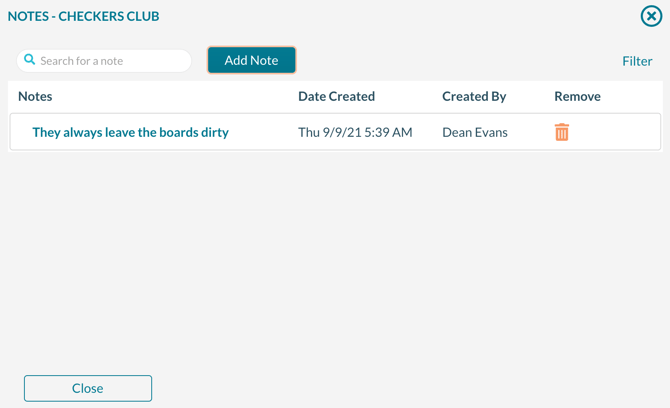
Adding notes to the organization
If you click on the number displayed in the notes column from the main list of organizations, a screen pops up that allows you to enter and edit notes for the organization. These notes are only displayed internally in Mazévo for event planners.

Clicking on the number in the notes column displays:
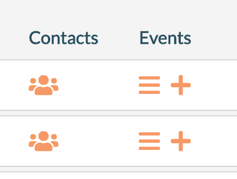
Helpful tools
- Click the Contact icon in the grid to view an organization's contacts.
- To view an organization's events, click the hamburger icon in the grid.
- To add a new event for an organization, click the '+' icon in the grid.