Overview
Security tags are a way to create a set of rooms that event planners manage and can be used to grant access to a few rooms rather than an entire building. An event planner may frequently be the space owner/approver of a subset of rooms within a single building. Security tags are a tool that security administrators can use to manage event planner access at the room level rather than the building level.
Creating a Security Tag
- Navigate to Settings > Users.
- Press the Security Tags button at the top of the page.
- Press Add New Security Tag.
- Enter the following information on the Details tab:
- Description
- Notes
- On the Rooms tab, select the rooms to be associated with this tag.
- Press Save.
Granting Event Planners access to a security tag
Granting permissions using security tags is almost identical to assigning building-level permissions to the planner. In fact, both types of permissions are set at the same time. An event planner can have any combination of buildings and security tags. The steps are as follows:
- Navigate to Settings > Users.
- Create or edit an existing user.
- On the Security tab, ensure the user is an event planner by selecting the Event Planner checkbox.
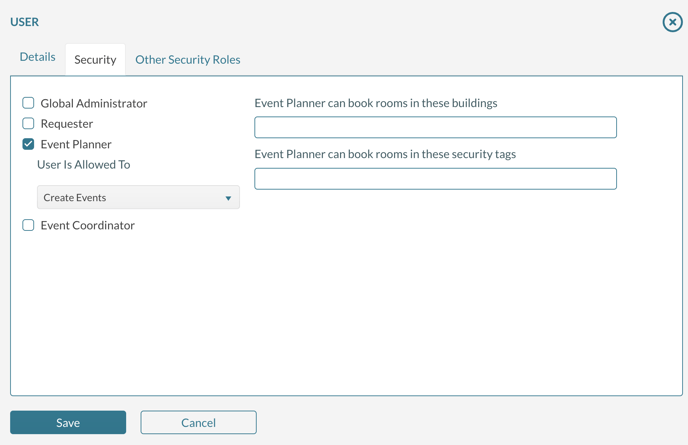
- Select the Building(s) that the event planner will manage.
- Select the Security Tag(s) that the event planner will manage.
- Press Save.