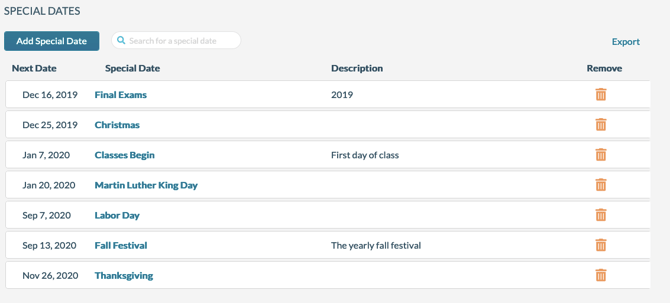
To create a special date:
1. Go to Settings > Special Dates.
2. Click Add Special Date.
3. Type the name of the special date and a description if appropriate.
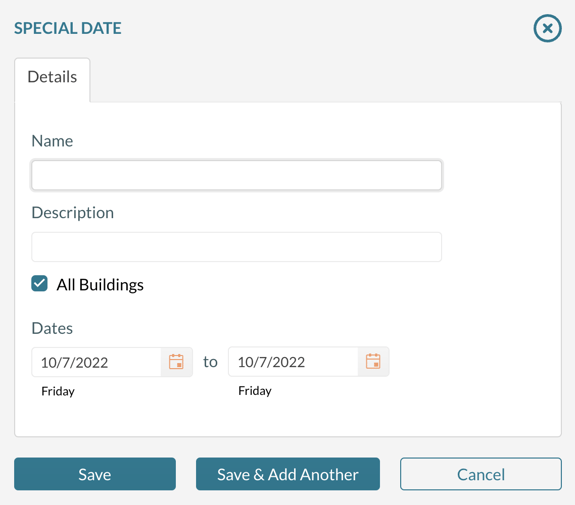
4. If the date applies to all buildings, check All Buildings. If not, clear the checkbox. The system then displays a new tab. Select the building(s) to which this date applies.
5. Enter the start and end date. If you enter a single date, the end date will automatically be set to the start date.
6. When finished, click Save.
Changing the description for multiple days
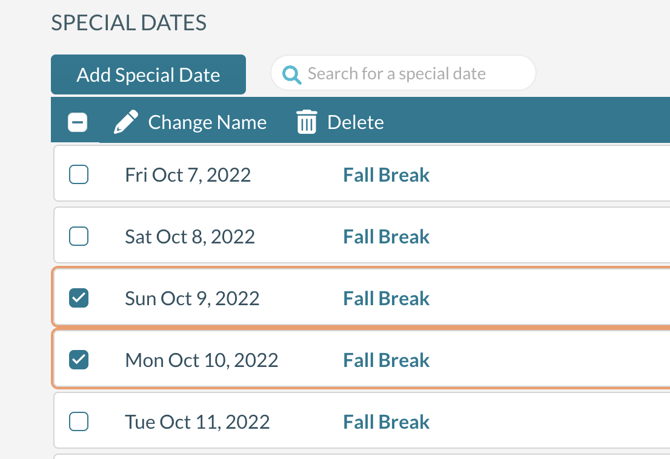
If you need to change multiple dates, use the checkboxes on the left side of the grid to select the dates to be changed, and from the popup menu, select Change Name. The selected dates need to have the same description to have this option appear in the menu bar.
Deleting multiple days
If you need to delete multiple dates, use the checkboxes on the left side of the grid to select the dates to be deleted, and from the popup menu, select Delete.
Importing Special Dates
You can import Special Dates from an Excel file. The new special date records imported will be for All Buildings. The file's first row must have column names (in bold below), which are case-sensitive.
The columns need to appear in the following order:
- Name (Required) (Max length 50 characters)
- Description (Required) (Max length 50 characters)
- Date (Required) (Max length 8 characters, format of MM/DD/YY)
Importing
- Navigate to Settings > Special Dates.
- Press Import.
- Press Upload Special Date File and select the file from your system. The system will display a preview of the records to be imported.
- Press Import to start the import.