Overview
Here are the steps to send the confirmation:
- Select what to send - The entire event or selected bookings.
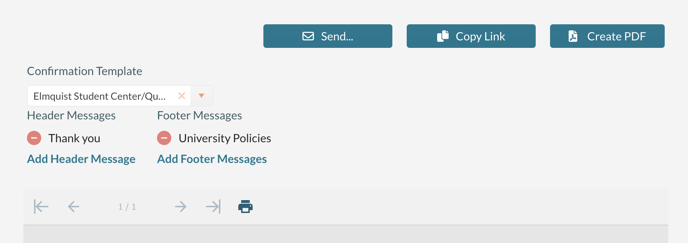
- Format the confirmation - Select the confirmation template, header, and footer message.
- Send, Copy Link, or Create PDF.
When you send a confirmation, an ICS file will automatically be attached to the confirmation email. The ICS file will only include bookings in statuses configured for the ICS file.
Selecting what bookings to send
To send all bookings, click Email at the top of the event editor. This option includes all non-canceled bookings regardless of the booking date. 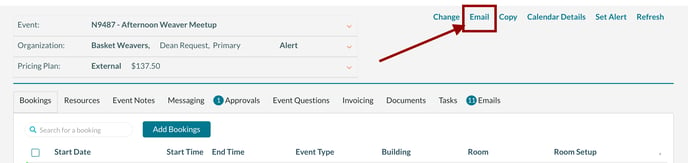
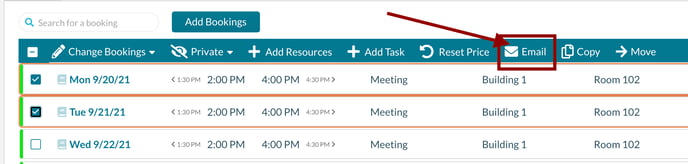
To send only selected bookings, use the checkboxes to select bookings and then click Email from the popup menu.
Formatting the confirmation
By selecting a Confirmation Template, you can customize the heading and overall format of the confirmation.
The template determines:
- Heading information - The department name and address
- Format - Confirmation or Banquet Event Order
- Services - Which service providers to include
- Pricing - Should pricing be suppressed?
- Reply-to Email
- Document Title - This is used to set the title of the document (Confirmation, BEO, Quote, Proposal)
Confirmation templates are defined here: Settings > Events > Confirmation Templates. Also, you can upload the logo displayed at the top of the confirmation in Account Settings.
Using the Add Header Message and Add Footer Message messages, you can include standard blocks of text on the confirmation. The text is displayed either before or after the list of bookings. Messages are printed in the order in which they are selected, but you can drag and drop them to change the sort order.
An administrator can set header and footer messages to default for every confirmation. The default setting is found in Settings > Messages.
Send, Copy Link or Create PDF
After selecting the template, heading messages, and footer message, you need to select from one of these actions:
- Send - Allows the email to be customized
- Add a message to the email body.
- Add Attachments
- Select Recipients
- Send
- Copy Link - Copies a URL to the clipboard for use in other systems (Email).
- Create PDF - Opens the confirmation in a new browser window in a PDF format.
Adding a message to the email body
From this screen, you can add a message to the email body.
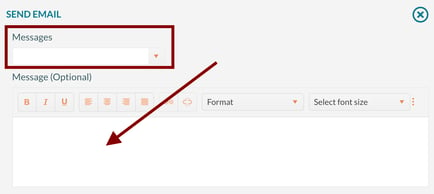
You can enter an optional message or select a predefined message from the drop-down. Selecting a message from the drop-down will append the message text to the existing text in the message field.
When you enter text into the message body, pressing the Return key will start a new paragraph, adding space at the beginning of the paragraph. Press Shift+Return will not add the additional line spacing.
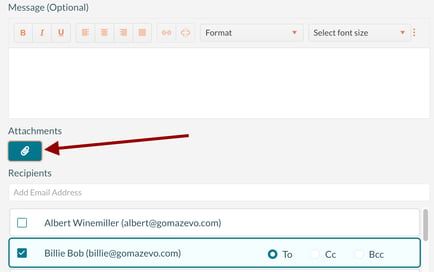
Adding Attachments
To add attachment(s), press the Attachment icon to add one or more attachments to the email.
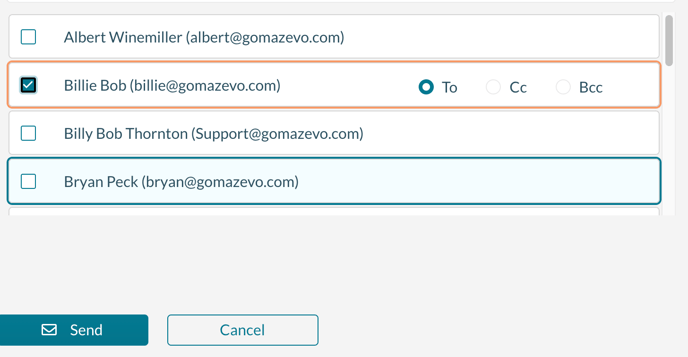
Selecting the recipients
Mazévo automatically displays a list of all contacts associated with the organization. By default, the primary contact for the event is selected as the "To" recipient. You can select other contacts by using the checkbox and set the To, Cc, or Bcc accordingly.
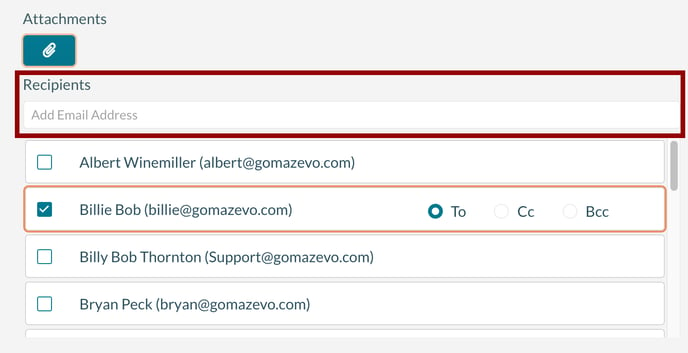
Adding additional email addresses
You can add other email recipients by typing the email address next to the Add button above and clicking Add. After adding the recipient, set To, Cc, or Bcc.
When adding additional addresses, the addresses will be saved in your personal address book for quick use when sending other confirmations.