Overview
Why would you have multiple price lists? Let's say you have two types of customers: internal and external. Internal customers aren't charged for the rooms they use but are charged for catering items. External customers are charged both for rooms and catering.
In this scenario, you'd create two pricing plans, one for internal customers and one for external customers. On the internal pricing plan, you'd set the prices for all of the rooms to $o.oo, but on the external pricing plan, each room would have a rental fee associated with it. You might charge the same price for coffee to both internal and external customers for catering items but charge external customers more for entrees. You'd indicate that in the respective pricing plans so the system can automatically apply prices for you.
To create a pricing plan:
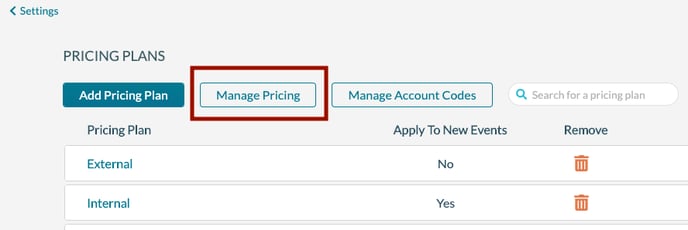
1. Go to Settings > Pricing Plans and click Add Pricing Plan.
2. Enter the name of the plan. Optionally, you can check the Apply To New Events box to set this plan as the default for all new events. Note: Only one plan can be set as the default for new events.
Note: If you are taking requests through Mazévo, the default pricing plan you selected to Apply to New Events will be applied to all requests submitted through the system. Those who are making requests will also see the associated prices for rooms and items.
3. If the pricing plan has an additional rate added to the base service charge, enter that additional rate.
4. Click Save to create the pricing plan.
If you want to copy the pricing from one plan to another, edit the destination pricing plan and press Copy Pricing, selecting the source plan to copy. All room and resource pricing will be removed and reset to the selected plan's pricing.
Managing the price of rooms and resources
After creating your plan(s), click Manage Pricing to set the individual prices on each chargeable item.
1. On the Manage Pricing page, you can set the prices for rooms on the first tab and resources on the second tab.
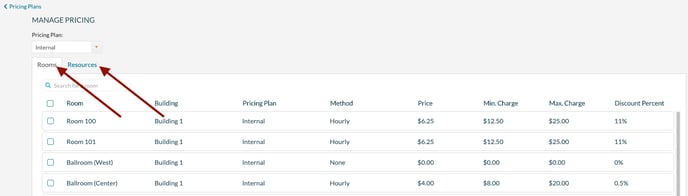
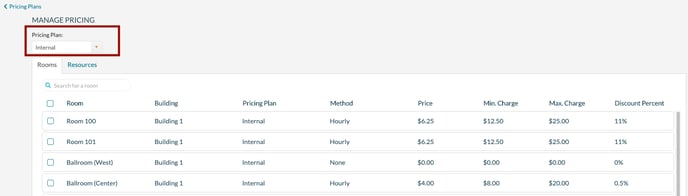
2. You can also filter the list to a single pricing plan by selecting a plan at the top of the page.
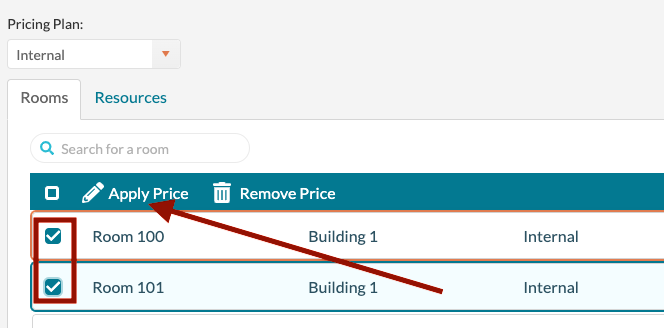
3. After filtering to a plan and selecting rooms or resources, check the box to the left of each room you want to apply pricing to (or resource if you're on that tab) and then click Apply Price to enter the price for the item(s).
4. On the Apply Price pop-up, select either unit, hourly, or half-day/full day pricing in the Method field. The screen will change accordingly. For unit pricing, enter a flat-rate price and optionally a discount percent. For hourly pricing, enter the hourly rate in the price field. You can specify a minimum charge amount, a maximum charge amount, and a discount percent with hourly pricing. For half-day/full-day pricing, enter the price for the half-day and the full day's price. A half-day is considered 4 hours or less, while any event over 4 hours will have the full day price applied. For more information on pricing methods, see this article.
5. After entering the pricing information, click Save.
Removing an Item from a Pricing Plan
To remove an item from a pricing plan, filter the list of items (rooms or resources). Select one or more items and click Remove Pricing Plan. This essentially sets the pricing fields to 0 for the selected item(s).